




Welcome!

Thanks for stopping by my little blog! Enjoy looking around, and please say Hi!
Showing posts with label Buttons. Show all posts

Saturday, June 25, 2011

Fun, Girly Button Bracelet

Have you noticed I've been a little MIA lately???
Sorry about that.
I haven't really been in the mood lately for crafting... no ideas flowing... I hope I'm not the only one who goes through this. :)  But... I think my craftyness may be coming back {fingers crossed!}

One of my recent fun projects is a new button bracelet!
Have I mentioned how much I adore jewelry?
I have.  Oh good.
I love anything fun and girly and this bracelet is totally both!

You only need a few things to make one of these;
chain
a handful of buttons
jump rings
clasp
jewelry pliers (or needle nose pliers)

Start out by putting a jump ring through one of your button holes as shown.
 The size of the jump rings you use depends on the size of your buttons.
 Attach the jump ring with the button on it to your chain.
 Now repeat lots and lots of times!

To make sure your bracelet is nice and full and evenly buttoned, alternate which sides you put the buttons on as shown below.
 Figure out how long you want the bracelet to be, and once you've put on enough buttons, add a clasp to one end and a final jump ring to the other.
 Now show off your fun dangley bracelet !
I made one for my little sis, and she loved it!
Its such a fun, feminine bracelet, and the best thing is that you can make it to fit your own taste and style. . . big buttons, small buttons, funky shaped buttons, and any color you like!

Thanks for stopping by and letting me share my ideas and creations with you!
I'm grateful for you all!


Friday, June 25, 2010

Yes. . . Another Necklace!
I know, I know! But yes. . . I have another necklace for you.
But cut me a break, its a really cute necklace!

See?!?!
So totally cute right?!
You'd never know it was made from a button.

Here's how I did it.
I got the button from WalMart.
First I clipped off the back of the button with some wire cutters.
Then I sanded it down more with a metal file.
Next I glued a bail to the back and let it dry for a few hours.
(No one will ever see the back of the necklace, but if you want it to look a little better of if its a little too scratchy against your skin you could always glue a little circle of felt or black fabric to the back.)

Then you have a cute new necklace pendant!
Just put it on a chain and you're done!
I ♥ it! Its my new favorite necklace!


Monday, May 3, 2010

Cute Button Rings!

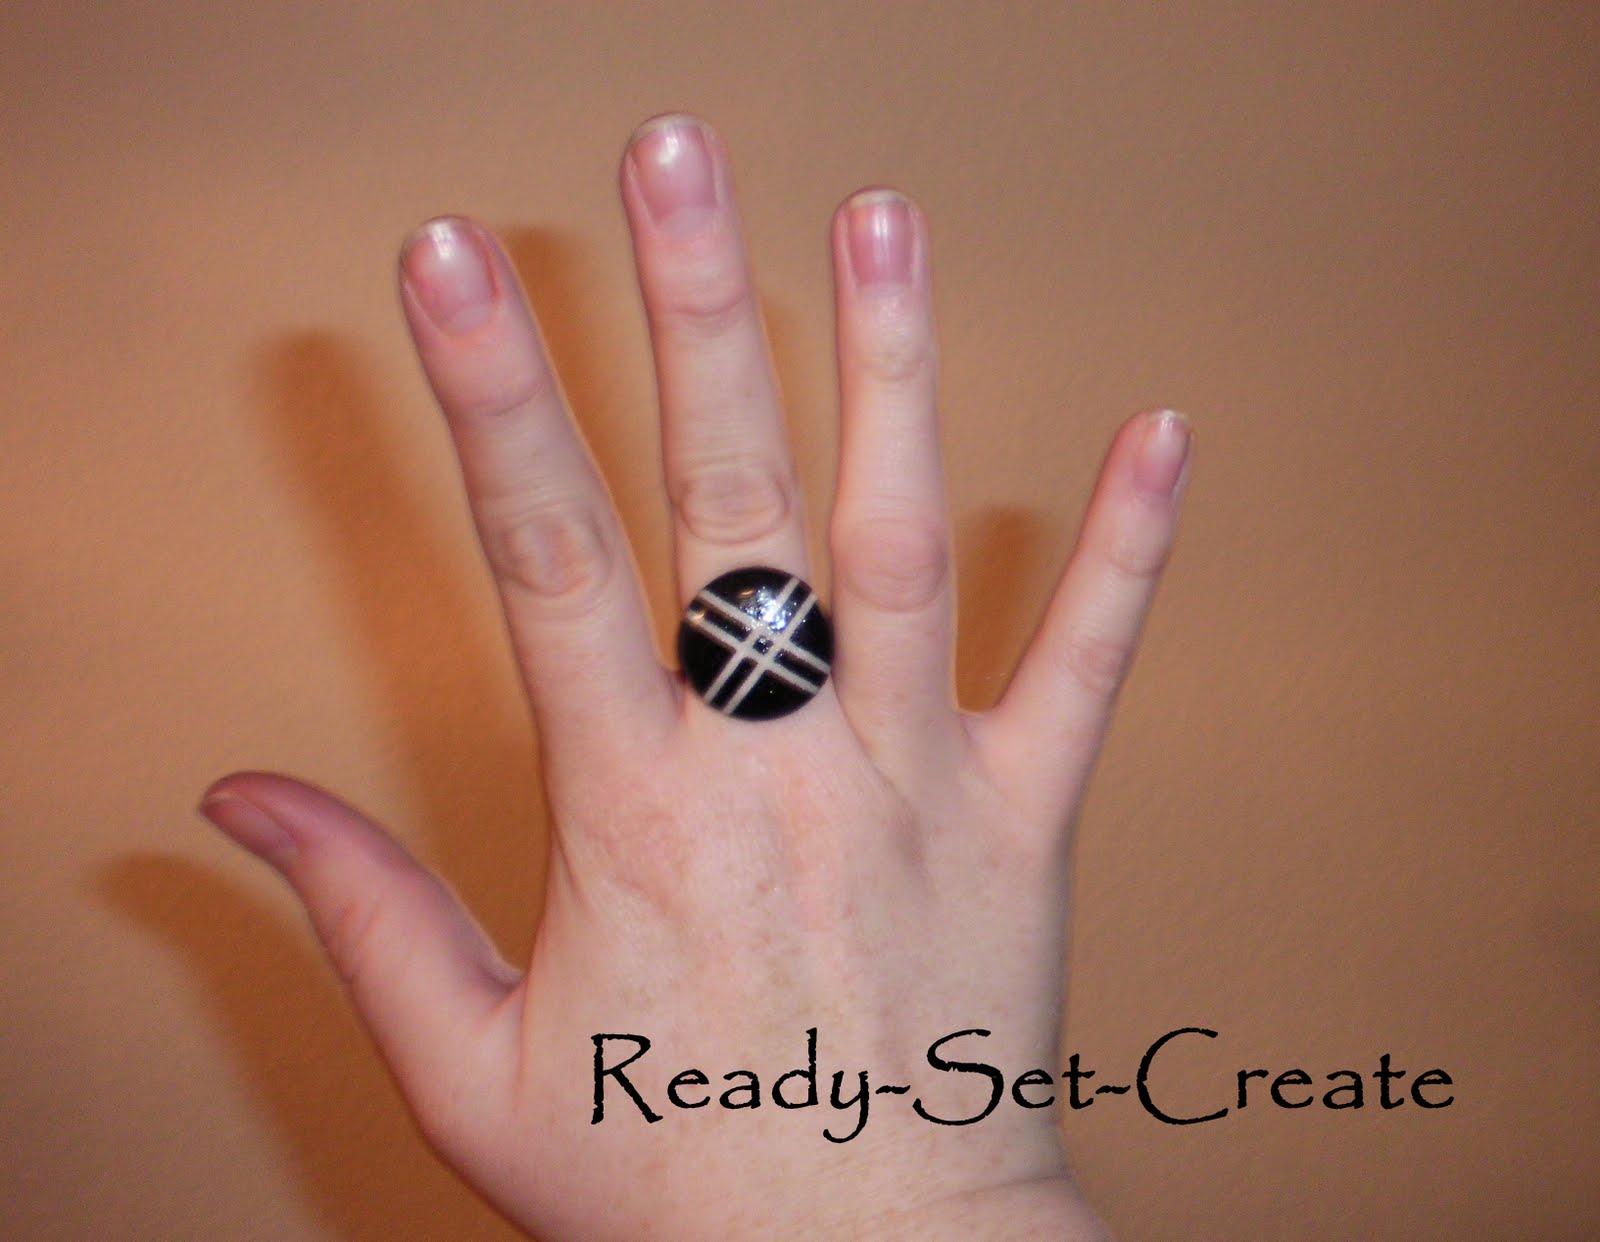
I'm totally into making my own jewelry right now. I love to wear something new that I've made! Most recently I made the cutest and easiest button rings.

If you're looking for a quick, easy project with fab results, this is it!
Three steps and your done.

The supply list is also totally short. . .
A tiny bit of fabric
Button Making kit
Mod Podge
Metal Adjustable Ring Base
Glue Gun

1. Make yourself a couple fabric covered buttons (the same ones I used here.) Button making kit can be found at Hobby Lobby or probably any craft store.


2. Put a couple of coats of Mod Podge on your button (this step could be skipped but the Mod Podge will make it shiny as well as keep it nice and clean.)

3. Once the Mod Podge is dry, Hot glue your button to your ring base.
And there you have it! Cute!


Friday, March 12, 2010

Fun With Buttons!

Fun with buttons is right! I have thick hair and can never find hair ties that will hold my hair back, unless they are way too ugly to wear. How do I solve that problem?? Make some of my own. This was totally easy, and I'm quite happy with how they turned out. . . I'll be making some more.

I started with a scrap of fabric and a button making kit from Hobby Lobby. . . Thirty seconds later I had my button!Next I tied the button to a plain ol' black elastic band. (please excuse my really zoomed in fingers in this pic.) I just used some thick black thread and tied it around a few times with a few good knots.
Ta-Dum!! Next step. . . try it out in my hair.
And look! A five minute craft that is cute, AND keeps my hair in place! Ah! Its gonna be a good day!

Related Posts with Thumbnails