


Welcome!

Thanks for stopping by my little blog! Enjoy looking around, and please say Hi!
Showing posts with label Halloween. Show all posts

Monday, October 11, 2010

I Do Believe In Spooks!

I'm not super big into Halloween, but I do like a little a little bit of seasonal decor around.
Here is my latest creation.  
Isn't it Fun?!  
I love the phrase and I ♥ The Wizard of OZ!

I got the idea from You Craft Me Up and just had to try it out for myself. {though I cant believe I didn't think of it first!}

Here is my how to.

Heres what you need:
Wood
Fabric
Mod Podge
Letters Printed in outline form
Scissors
First I covered the board with the fabric.  Mod Podge all over the board and then press the fabric onto it.

While it dries print and cut out your letters.  To get the outline shape you just type everything out then go under format, then font and select outline.  
Easy Peasy.

Next cut out your letters.  It didn't take as long as you'd think, and was pretty simple, but really you could use punch out letters, or maybe stickers. {Not sure really if stickers would work but you could try.}  Or of course you could use vinyl letters. 

Lastly, arrange your letters how you want and stick them down by coating the back of the letters {only} with Mod Podge and sticking them in place.
Once they are dry, bam! Your Done!
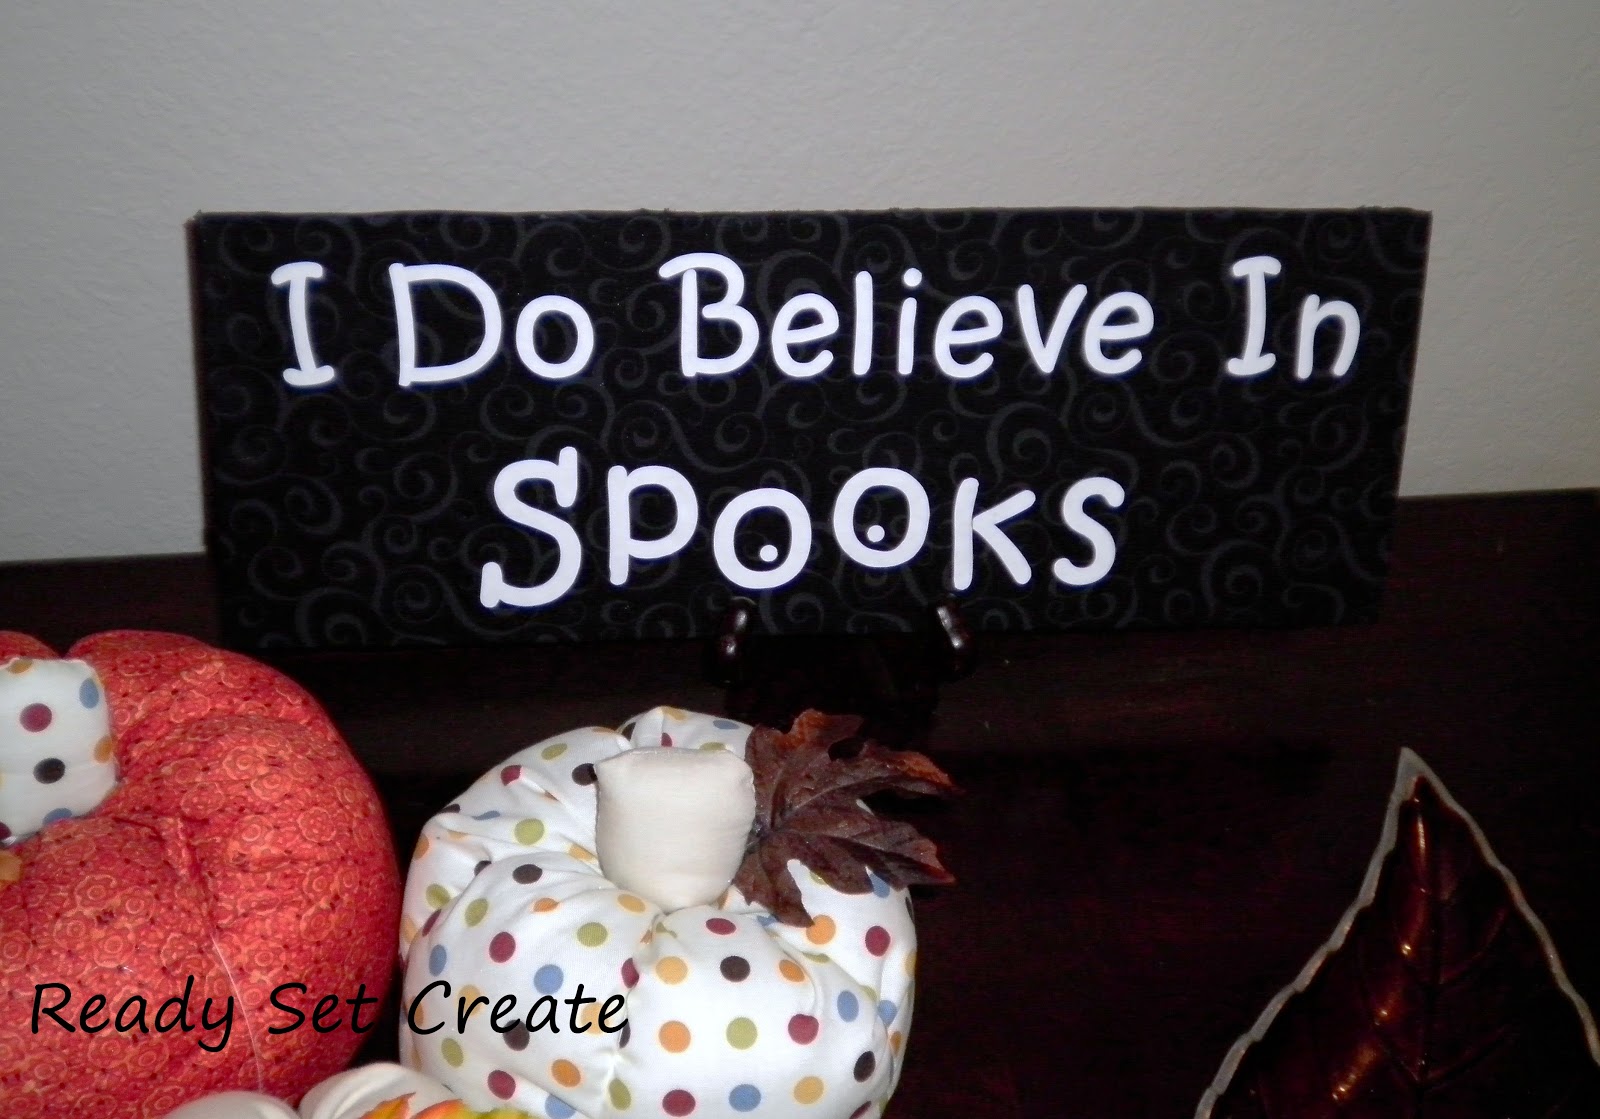
There you have it!
Thanks for reading, and happy creating this week!

Wednesday, September 22, 2010

Fun Festive Fabric Pumpkins!
Well, I admit it, Fall is upon us.  
While I'm not thrilled about the impending snow storms and the inevitable snowed-in days, I do love fall!
The cool weather, the colors, the leaves changing and falling off the trees, and the fun Fall decor!

Here is my first craft of the season.
Cute, festive, stuffed pumpkins!
Cute right?!  I whipped up two of these babies during an episode of What Not To Wear.

Want to make some of your own?  Here we go!

Start with whatever fabric you're going to use.  Make the width twice as long as as the height.
I made mine 11 inches by 22 inches. 

Next we're gonna ruffle the top and the bottom (the two long sides.)
On the sewing machine use the longest stitches and the highest tension.  Start sewing without pulling the fabric tight and the machine should do the ruffling  for you.  
(if it doesn't then just pull on one of the strings when you're done sewing to make it ruffle up.)

What we're going to do next is sew the two shorter sides together (11 inch sides) right sides together.

Now you'll have a tube with a ruffly top and bottom.  
Gather the bottom together and hand stitch it closed.

Next fill it full of stuffing. . .

Then gather the top and stitch it closed.
This is what it looks like at this point. . . a big round lumpy {almost} pumpkin.

The next step is whats gonna give it that pumpkiny look.
I just used some regular thread and a long needle. . . start at the bottom, and bring your needle up through the middle and then down around to the bottom and up through the middle again as many times as you want - I did it 5 times.
(does that all make sense???)

Now for the stem.  Super easy.
Cut two stem shaped pieces.  They don't have to be perfect. . . what stem is perfect???

Sew them right sides together, flip right sides out and stuff.  Now sew the bottom closed.  It doesn't matter what it looks like, the bottom wont show.

Last step, pull out the hot glue gun and glue on the stem and if you want to a couple fake leaves.
And Voila!  There you have your cute stuffed pumpkin!

Now all you have to decide where to put them!
On the kitchen table. . .

Maybe on the entryway table?

No matter where you put them they will look fab and make a great fall decoration!

Thanks for stopping by. . . Enjoy this beautiful season and happy creating!


Related Posts with Thumbnails