Welcome!

Thanks for stopping by my little blog! Enjoy looking around, and please say Hi!

Wednesday, May 26, 2010

100 Follower Giveaway!!

Giveaway Closed
I want to say to all my followers. . . I ♥ you guys!
So I'm gonna do a little giveaway for you.
Everybody likes to win something pretty right?!
(You don't have to be a follower to win by-the-way)


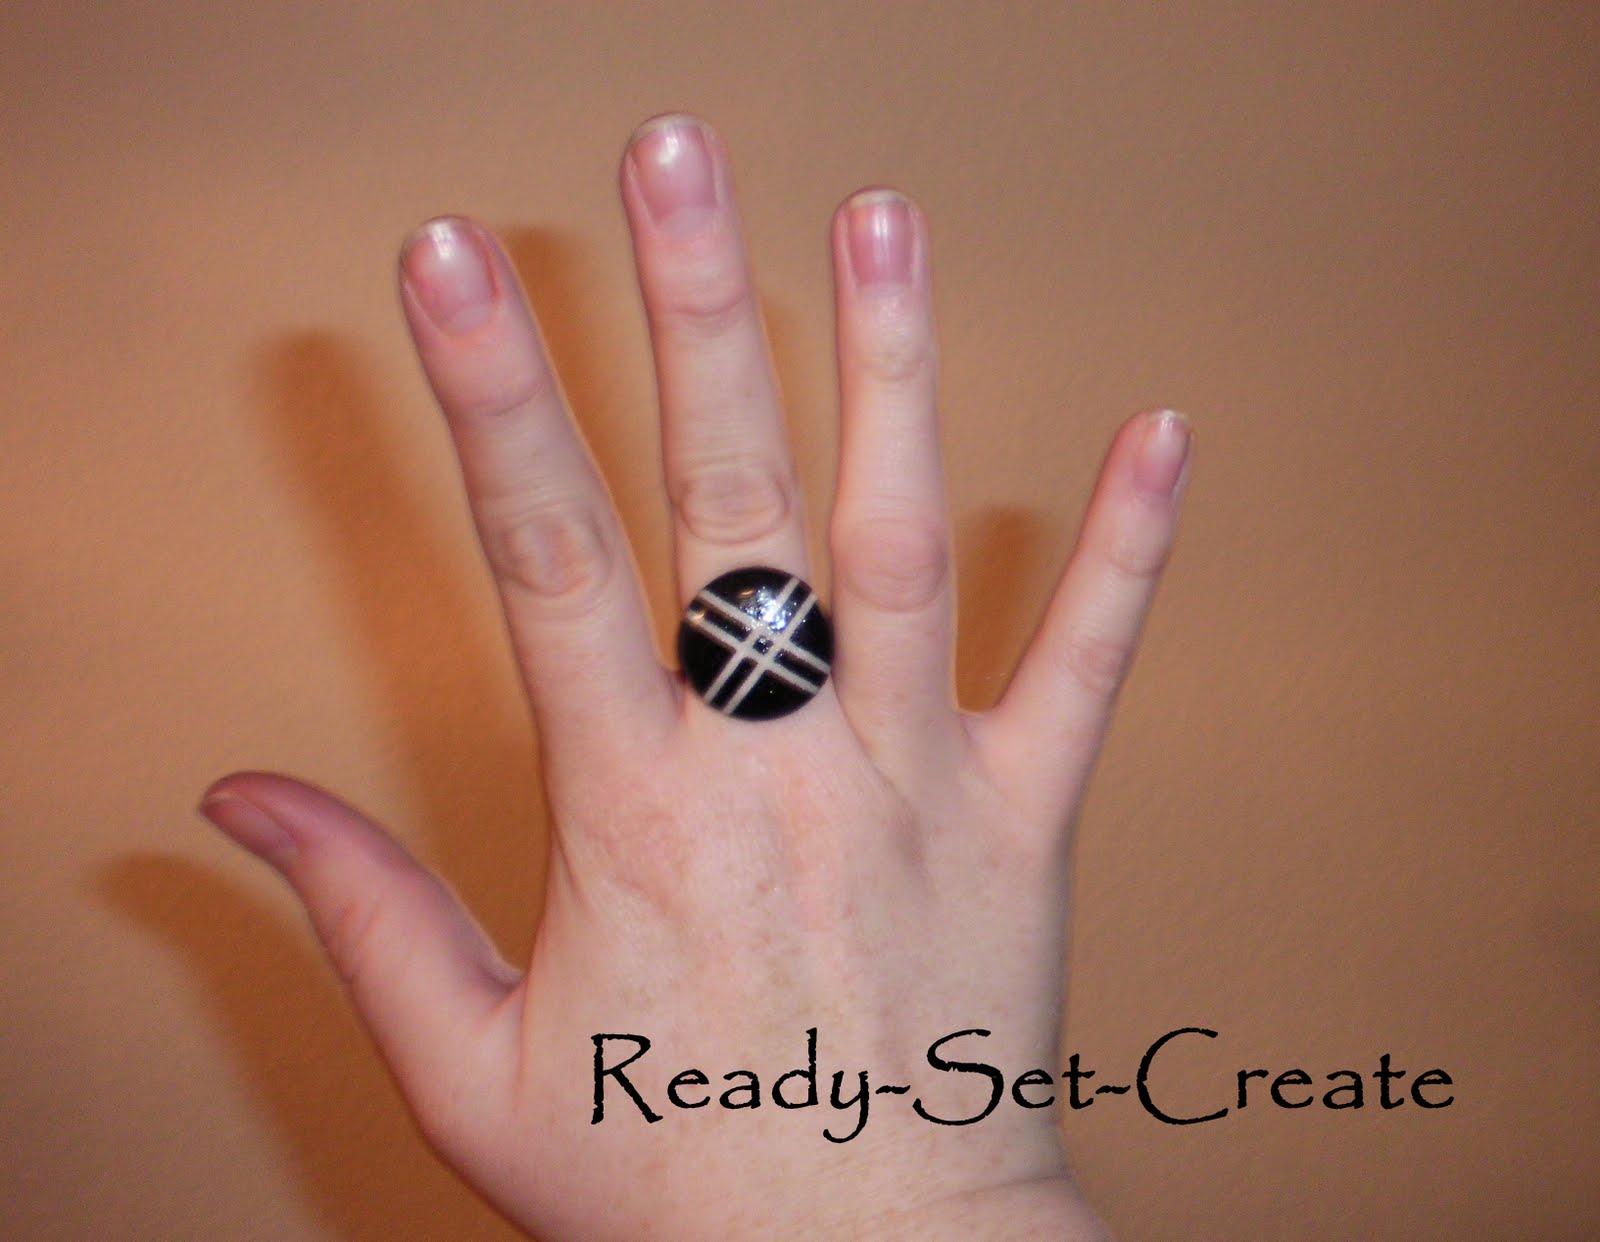
I'm giving away some cute pendant necklaces that I've been making (tutorial coming soon) and some cute beaded bracelets.

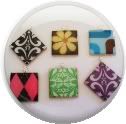
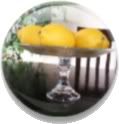
Here are a few that you can win.
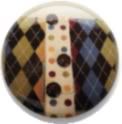
I'm loving the blue and brown combo right now!
This bracelet is so fun! I call it my Mountain Dew bracelet.
If you win you get your 2 favorite items.
It can be 2 necklaces, 2 bracelets, or one of each.
If I'm feeling generous I may choose more than one winner. :)
Here's what you do. . .
Leave a comment telling me which items you want if you win. (see how I have the numbers with each pic to make it super simple?!)
If you are a follower, leave ANOTHER comment telling me you are a follower, and you'll have a second chance to win.

Make sure I can contact you through your profile, or leave your email so I can let you know if you win.
I'll choose the winners next week using Random.org

Thanks for being my followers!


Thursday, May 20, 2010

I'd Like To Thank The Academy. . .

Listen to me, it sounds like I'm accepting an award.
Oh wait, I am!

That's right! I was given an award!
I really would like to thank
Veronica from Veronica's Korner
and
Suzanne from Meridian Road
They have both passed this award on to me, and I graciously accept.
I'd also like to thank my readers and my wonderful followers. . . yes, yes, if you're reading this, that's you! I totally ♥ you guys!

So along with this award, I'm supposed to tell you all 7 things about myself and then pass the award on to up to 15 other blogs that I think are versatile.
Here goes. . .

1. I could live on Diet Mtn. Dew!
2. I've been married to my Hubby (the love of my life) for just over three years.
3. My favorite band is The Goo Goo Dolls. I've seen them in concert 10 times.
4. My most fav TV show is TLC's What Not To Wear. I love it!
5. Ever seen the movie Saturdays Warrior? I can totally quote the whole thing. . . pretty much word for word.
6. I went to school at BYU Idaho. I spent more time scrapbooking and playing than studying. Oops
7. My favorite color is yellow. . . Has been my whole life. Its so bright and cheery how could you not love it?!


Now to pass the award along to some bloggers who I am a big fan of.

Heather @ Me Making Do
Lelan @ Good Gravy Designs
Ashley @ Attention 2 Detail
Beckie @ These Creative Juices
Jill @ Women Who Do It All
Jenny @ Home Made Diva
Melissa @ My Craftie Life
Brooke @ Curly Q Crafts


Sunday, May 16, 2010

Old Jeans to New Skirt!

First things first. . . find your old, worn out, favorite pair of jeans.
We're gonna make it into a cute little pencil skirt!

Figure out how long you want your skirt to be and cut your jeans off about two inches longer.
Next cut along the inner leg seams. If you want your skirt a bit roomer you can rip out the seams rather than cut it.
Now, turn them inside out. We're going to cut out the crotch areas.
(Can I say crotch? Does that make this a PG-13 blog now?)

Put the side seams together. Now we have two crotch areas to cut out. Using a straight edge, mark a straight line in the front from right under the zipper to the bottom of the skirt. Make a straight line in the back. Now cut along the lines you drew.
That's the hardest part of the whole thing. It only gets easier from here.
Now sew together the front, and then the back. Make sure to re-enforce it a few times to make it good and sturdy.
Last step is your hem along the bottom. Fold up an inch, then fold over again.
Hem, iron if necessary (it was for me) . . .
. . . Then wear! (Please ignore the bad pic and the dust on my mirror.)
Now you've got a cute pencil skirt that flatters your butt just like it did when it was your fav pair of jeans!

Tuesday, May 11, 2010

Chocolate Dishes

Who doesn't love some yummy desert?!
What about a cute and tasty way to serve your desert?

Read on to see how I made some chocolate bowls!

I started with some Styrofoam bowls and melted chocolate.
Roll it around until the chocolate is evenly dispersed then stick it in the freezer.
It only takes a few minutes in the freezer til they are ready.
They come right out of the bowls, easier than pie. . . No pealing necessary.
Now its time for a little added beauty.
I drizzled a little contrasting chocolate on the underside of each bowl to give them a little more character.
And finally, add some ice cream and a brownie and there you have it!

What a great way to serve desert to guests after dinner.
And you will feel a little like Willie Wonka when after desert you get to eat your dishes! :)


Friday, May 7, 2010

Dressing Up A Empty Wall

Do you love a good bargain?
I sure do!
I love when I can find or make something for practically nothing! (as you probably know from many of my previous posts.)

Here is some simple wall art that I made for one of our guest bedrooms that until today had some very empty walls.

I started with four dollar store frames,
four pieces of scrapbook paper that matched my guest room decor
and some vellum
I printed some ornate decorative designs on two pieces of vellum to liven up my art a bit. . .
I put them all together, and there is a now a little decor in our guest bedroom. One of my poor empty walls isn't so empty anymore.


Monday, May 3, 2010

Cute Button Rings!

I'm totally into making my own jewelry right now. I love to wear something new that I've made! Most recently I made the cutest and easiest button rings.

If you're looking for a quick, easy project with fab results, this is it!
Three steps and your done.

The supply list is also totally short. . .
A tiny bit of fabric
Button Making kit
Mod Podge
Metal Adjustable Ring Base
Glue Gun

1. Make yourself a couple fabric covered buttons (the same ones I used here.) Button making kit can be found at Hobby Lobby or probably any craft store.


2. Put a couple of coats of Mod Podge on your button (this step could be skipped but the Mod Podge will make it shiny as well as keep it nice and clean.)

3. Once the Mod Podge is dry, Hot glue your button to your ring base.
And there you have it! Cute!


Related Posts with Thumbnails