Welcome!

Thanks for stopping by my little blog! Enjoy looking around, and please say Hi!

Wednesday, November 10, 2010

12 Crafts of Christmas part 4 - Gift Idea - Greeting Card Box Set

How about giving a super cute boxed set of greeting cards to someone on your Christmas list?
This would be a perfect gift for someone you visit teach, or maybe a school teacher, or even a grandma, or really anyone. . . everyone could use a set of handmade cards!

This handy little box is filled with all these pretty greeting cards!
The cards are a little bit of everything. . . some "Just Because", some "Thank You", some "Happy Birthday" and a few others for almost every occasion!

I'll let you use your own creative juices to make your plethora of cards, but I'll show you how to make this cute little card box.

Start with a piece of card stock 8 1/2" x 11"
We're gonna make a few scores and a few cuts.
See the picture below

Ok, now fold on all the score lines and what you have should look like this
Ok, now fold in the little bottom flap and the two side flaps and glue them together. 
Glue both sides and you should have this little box.
Now we're gonna make the top/front piece.
Cut another piece of card stock about 7"x7"
Now score this piece at 1" and 2" from the back as shown in the picture.
Fold on your score lines.
Now glue the 1" back piece to the back of your card box.
Now it should fold over nicely.
(I added a brad on each side and two on the back for extra reinforcement and a little decorative touch.)
This is the front with the top flap closed.
(I cut about an inch off of the front piece so it wasn't so long as you can see)
To close it I just used an exacto knife and cut little slits for the corners to slip into.
It was super easy, but you could also just tie a ribbon around it and it would be super cute!

In goes your cards (don't forget the envelopes) and there you have a cute greeting card box set to give as a gift to anyone on your list!

Hope you enjoy it and Happy Christmas Crafting!


Monday, November 8, 2010

12 Crafts of Christmas part 3 - Gift Idea - Wire Beaded Earrings

Do you need a nice, small gift for anyone on your list?  Or maybe you just want to add a little something extra to someones stocking.
Jewelry makes a great gift for just about any woman.
I'll show you how I made this pair of simple, yet classic earrings.
First things first, here is what you are going to need;
shiny wire
earring wires
beads of your choice
needle nose pliers (or jewelry making pliers)
wire cutters

Ok, here we go!
Cut your wire about 5 inches long. (err on the side of too long, you can always cut the wire down.)

About a third of the way from the top, bend the wire at a 90 degree angle.

Hold the wire at the corner you just made with your pliers and wrap the short piece of wire around the tip of your pliers.

Wrap it around as many times as it will go and then make sure the end of the wire is tucked on the inside so the wearer wont get scratched or poked.
Your wire should look like this.

Now put your chosen beads on the wire.

Aren't these wire wrapped beads the best!  I found them at my ever favorite Hobby Lobby.

Next, about a quarter inch from the top of the beads, bend another 90 degree angle
Slip on your earring wire. . .
 then bend down your wire as shown.
 Now, hold your earring right under the the earring wire, and wrap the remaining wire between the top of the beads and the bottom of the pliers
Once again, make sure you tuck in the end.

Now make another one, and you've got a pair of super cute earrings!
 Wouldn't these green ones be cute for Christmas?!
{I totally made a pair for myself!}
But these purple ones are also just as fab!

So, go ahead and give it a try. . . Its a quick craft, with a super result!  And the recipient of these I'm sure will love them!

Happy Christmas Crafting!!

Friday, November 5, 2010

Gobble Gobble Free Printable!

Well, all the Halloween decor is packed away, and we have a little while yet until its time to decorate for Christmas.  In the meantime we need a little something to fill the space. . .
How about something cute and Thanksgivingy?

Cute right?  Fills in the space nicely, plus it looks good with my pumpkins!

Want your own cute Thanksgiving picture?
Here you go, my Happy-Friday-Happy-November gift to you!

Just right click the picture, save it to your computer and print!

Hope you enjoy it!
Feel free to share, all I ask is that if you do, you tell people where you got it.
{Not too much to ask right? ☺}


Wednesday, November 3, 2010

12 Crafts of Christmas - Make your own photo Christmas cards!

I love photo Christmas cards!
I love having them made and sending them out to all our friends and family!
What I don't love is the price.  
Depending on where you buy them and how many you get, it can sometimes get kinda pricey.
I'll show you how to make them for free!  {or dang near free anyway}


Start with whatever pictures you are going to use and edit them as necessary.

First I'm gonna show you how I made the collage card.

To make the words on the card I used Paint.net
If you don't already use it, you should!  Its free and super easy to teach yourself! (I suppose you could probably use paintbrush for this also.)
Ok, so in Paint, create your word squares the size and color you want them, and them save them to your computer in JPEG format.

Next we are going to use Picasa (another easy and free program) to easily create our collage.
Once you download it it automatically uploads all your pics on your computer. Nice right?!
Ok, so in Picasa select all the items you want in your photo card {pictures and words etc.} then click on the Collage button.

This will put them into a collage for you and you just need to play with it and arrange it all to your liking.

You can change the layout of the pictures using one of the layouts in the settings or you can drag and re-size each picture as you wish.

You can also add borders to your pictures, change the background color and choose the size of your collage.
I made my collage 4x6 because I plan to have them printed at the store.


It took me a little while and a few tries til I ended up with one I was happy enough with to send to everyone.
Once you are finished, click Create Collage and there it is!

Like I said before, I made my collage 4x6 because I plan to have them printed at the store.  
I can get them printed any number of places for only pennies a piece.  
{Just a little tip - most online photo sites offer new customers 50-100 free prints!  So you could get them printed for Freeee!!}

Ok, now on to the second card.

For this one I only used paint.net.
I created three layers.  By using different layers you are able to edit and move each item independently of the other items in your card.
The first layer {or background} is your background color and any text you want.  Easy.
{Make sure you make this 4x6 if you plan to have these printed at the store, or whatever size you'd like.}

Next create a layer using your picture.  Resize and edit as necessary.

My last layer is this cute little tree image I used.  You could draw/create your own image or paste in a clip art image or really whatever you'd like.

Then combine all your layers and there you have your custom made-by-you Christmas card!


So there you have it.  I hope this made sense.  Like I said, the programs take a little playing around with but you'll get the hang of it, and how great would it be to be able to send out Christmas Cards that you made!

Good luck, feel free to email me with any questions and happy digital creating!


Monday, November 1, 2010

12 Crafts of Christmas - Gift Idea - Mommy & Me Aprons!

Yes I know I've pretty much just skipped over Halloween and Thanksgiving, but we've all got to get started on those homemade Christmas presents right?!

Here is a great gift idea for a mother and daughter
{or any woman for that matter}

A set of Mommy & Me aprons!

What little girl wouldn't just love an apron that matches moms!
This creation took me a few hours of sewing, and $0.00!  Yep, zip, zilch, nada!

I made it out of an old shirt of the hubbys and a purple pillowcase.
One shirt made both of these aprons, Awesome!
{and remember. . .my sewing skills are limited basically to just sewing a straight line, so this would be an easy gift for anyone to make!}

I just love the little girl apron, so cute!
How much fun my little niece will have all dressed up like mommy in the kitchen!

I added these fun little flower pins that they can remove when they throw the aprons in the wash.

Add a cookie mix, a mommy sized spatula, and a little spatula and there you have one cute-thoughtful-made just-for-me gift!

PS - I don't have a tutorial for the aprons cuz I just made it up as I went along but I do know of this site with 50 free apron patterns.  Hop on over and find one you like!

So there you have it, one great idea to start making for someone on your list.
Merry preparing for Christmas. . . It'll be here before we know it!


Sunday, October 24, 2010

12 Crafts of Christmas Coming Soon!

Well, first things first, thanks to the few of you who gave me your opinion on when to start posting Christmas crafts, the vote was to post them sooner rather than later.
I'm not going to argue with that!  

Starting November 1st you can get all your Christmas ideas here!
I've got lots of gift ideas, yummy treats and other fun stuff in store.  Its gonna be lots of fun!
I'm calling it my 12 Crafts of Christmas!!


So prepare yourselves for the upcoming Christmas fun and stop by soon!

I'm toying around with the idea of one day having a linky party so all of you can link up your grand Christmasy ideas.  What do you think. . . anyone interested?
 

Tuesday, October 19, 2010

From one bargain hunter to another. . .

With Christmas right around the corner who's not on the lookout for an awesome, personalized {inexpensive} gift?!
I love a good deal!  All you have to pay is shipping.  These books typically run 35-40 bucks a piece so $8.99 for one is a steal! 
It only goes until October 25, so if you want one the sooner the better.
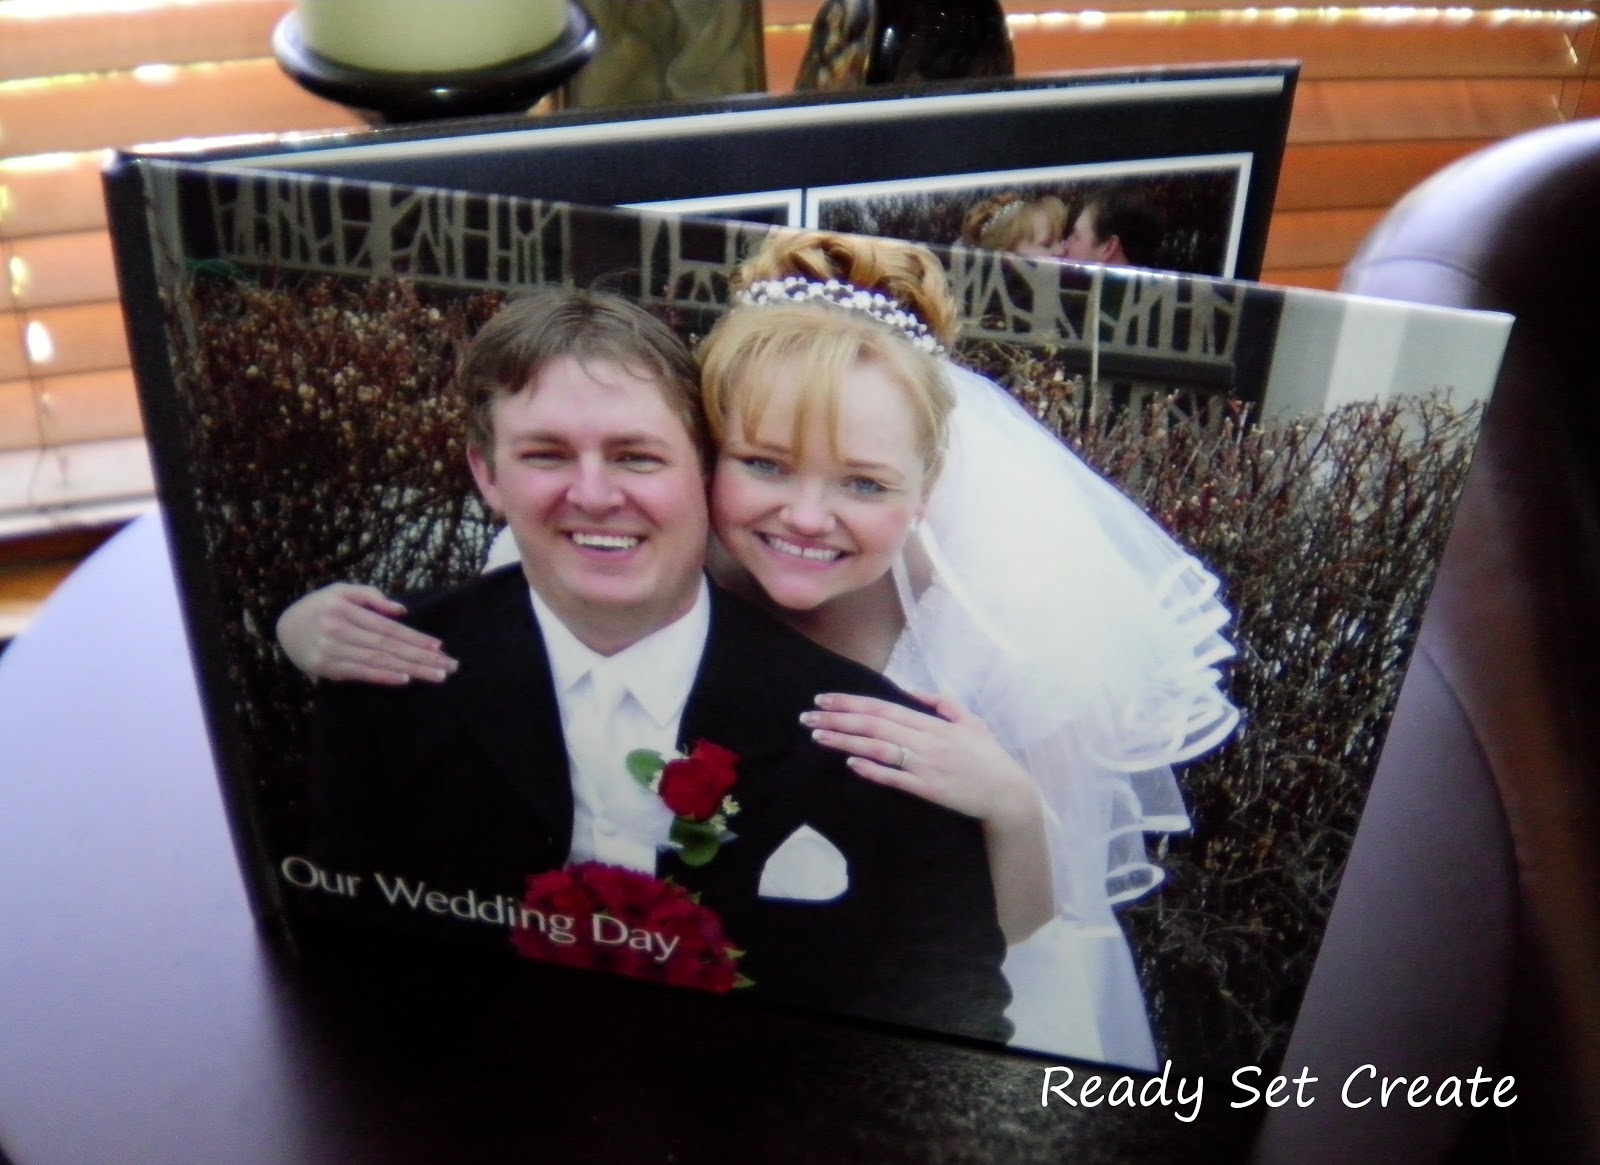
I decided to make a book of our wedding and I love how it turned out!

Here are a few more details . . .
  • Offer good from October 15th through October 25th.
  • The cost of one 20-page Large photo book (up to $39.99) will be deducted from the order total. If the book contains more than 20 pages, the customer will be charged for the additional pages.
  • Taxes and shipping charges are additional. (around $8.99 shipping)
  • Click on the link to sign up - code for the free book is FALLBK
  • This coupon is for first-time Picaboo customers only.
Just thought I'd pass on this great deal, from one bargain hunter to another!


Related Posts with Thumbnails