Welcome!

Thanks for stopping by my little blog! Enjoy looking around, and please say Hi!
Showing posts with label Stickers. Show all posts

Monday, September 13, 2010

More Canvas Art!

Here is another of my latest projects. 
Not bad huh?  Simple yet makes a dramatic statement.
This is much like my subway art, in that it would be quicker with a Cricut, but here is the cricut free way to do it, as I have yet to invest in one.  :)

Not too hard, Just a bit time consuming.
Here is what you'll need - 
Contact paper
Stencil or a printout of the design you want to use
Sharpie
Scissors

Now, I didn't have a stencil so i just printed off some designs that I liked.
First cut them out, and then trace them onto the contact paper.

Next cut out shapes you traced on the contact paper.  
Peal and stick to your canvases.

Paint your canvases, let dry and then peal those bad boys right off!

Here is the final product.
I'm pretty happy with it.  Its bold and black and white, you all know that's the phase I'm apparently going through. 

Well, thanks for stopping by and having a look. . . Happy Creating!


Monday, August 16, 2010

Subway Art

I love the look of subway art. Most tutorials require the use of the fancy schmancy Cricut. Well, since I don't want to shell out hundreds of dollars on one, I came up with my own way to make some subway art.
Looks pretty good I'd say!
Here's my how to.

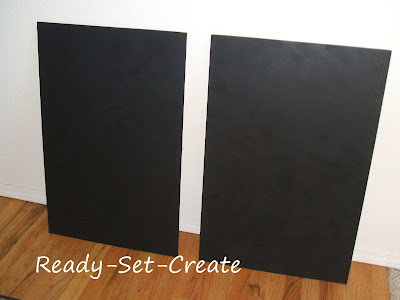
I started with a piece of foam board and some stickers in several different fonts.

I drew some evenly spaced lines on the board then started sticking on my letters.
I decided to fill my board with just words and phrases that describe me and my hunky hubby.

I covered it with stickers, then painted it.
Once the paint is dry, its time to start pealing off the letters.
This step took way longer than I had anticipated. Maybe its cuz I used foam board instead of a canvas? I don't know. Whatever the reason, next time I think I'll use just a bunch of white letters (assuming I can find lots of them in a bunch of different fonts.)

Anyways. . . Once the pealing was done I just did a little touch up painting to fix any areas that needed a little help.
My hubby gets a lot of credit for the pealing. He was a huge help!
He is so sweet how he helps me with my projects even though he thinks I'm a little bonkers at times.
Well, it was worth the work for the final product. It goes great in my craft room and looks cute with the boxes I made here.
Well my craft room is one step closer to being fully decorated.

Thanks for reading!


Related Posts with Thumbnails