Welcome!

Thanks for stopping by my little blog! Enjoy looking around, and please say Hi!
Showing posts with label Jewelry. Show all posts

Saturday, June 25, 2011

Fun, Girly Button Bracelet

Have you noticed I've been a little MIA lately???
Sorry about that.
I haven't really been in the mood lately for crafting... no ideas flowing... I hope I'm not the only one who goes through this. :)  But... I think my craftyness may be coming back {fingers crossed!}

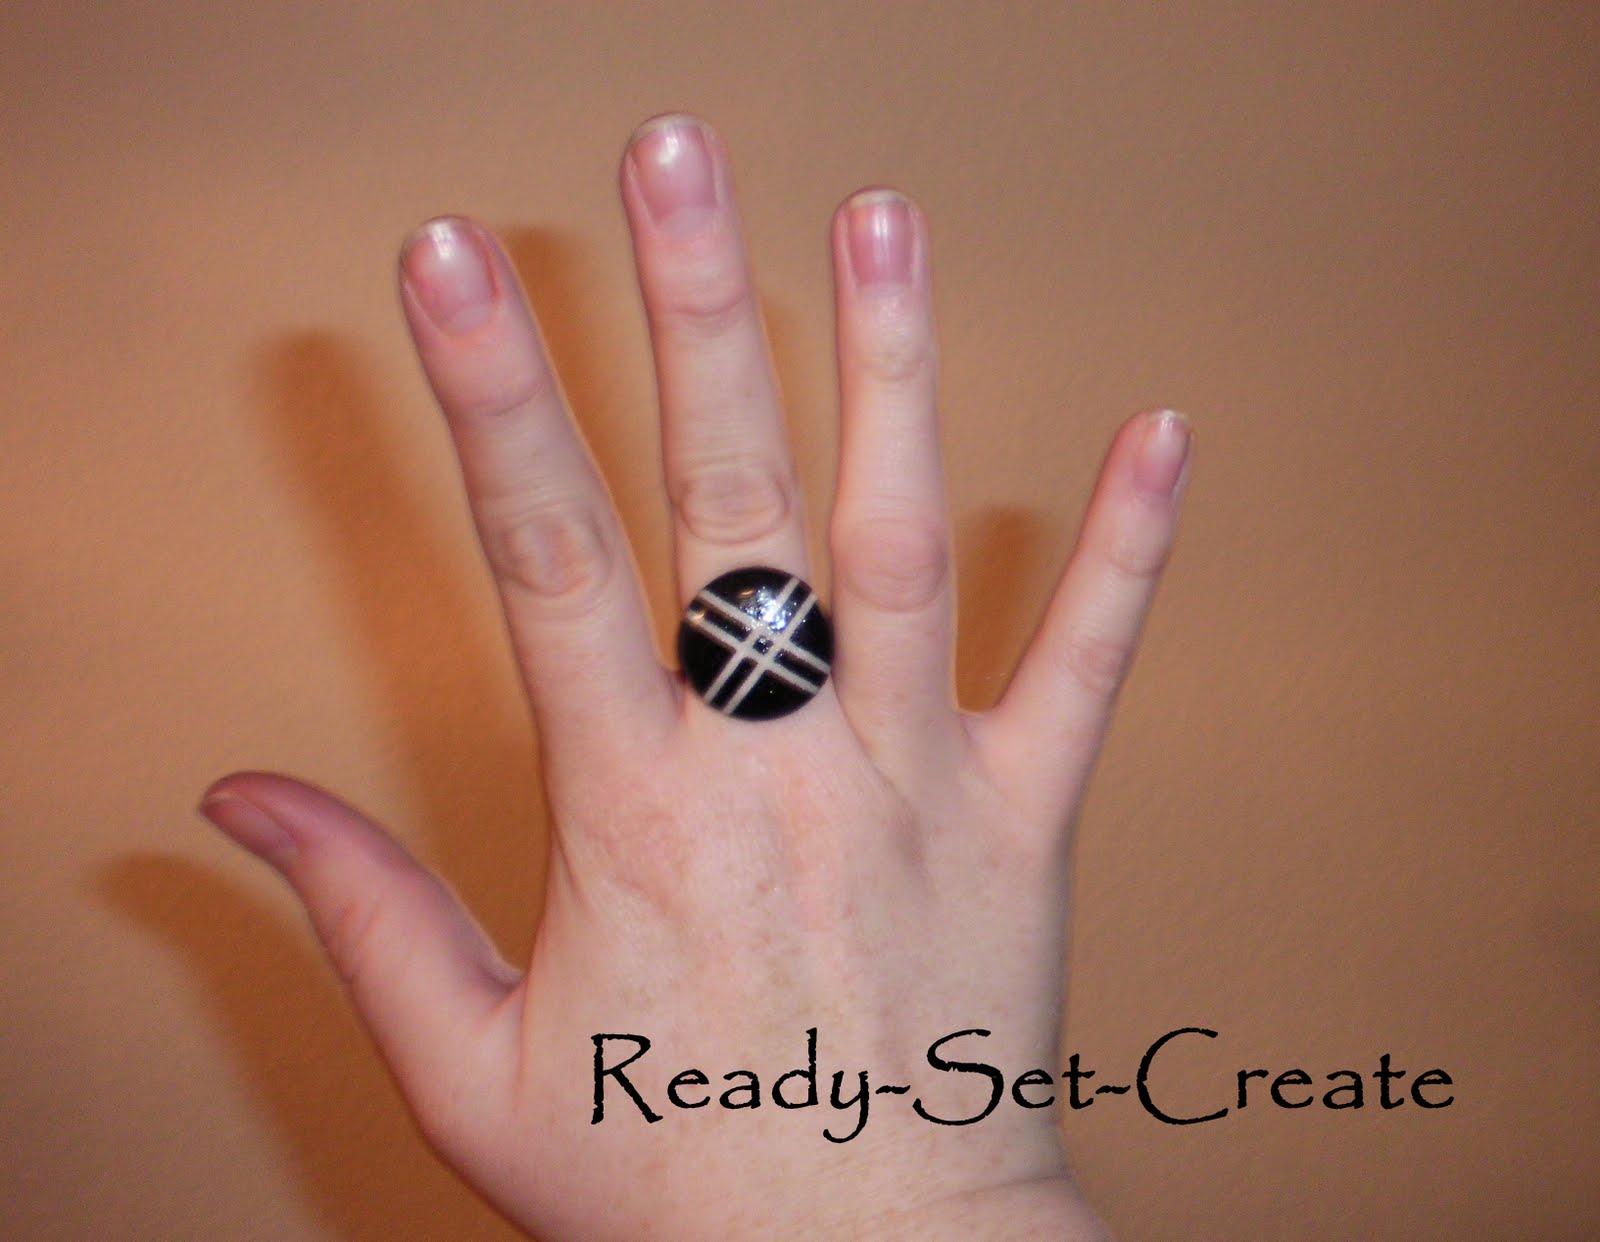
One of my recent fun projects is a new button bracelet!
Have I mentioned how much I adore jewelry?
I have.  Oh good.
I love anything fun and girly and this bracelet is totally both!

You only need a few things to make one of these;
chain
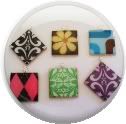
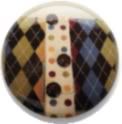
a handful of buttons
jump rings
clasp
jewelry pliers (or needle nose pliers)

Start out by putting a jump ring through one of your button holes as shown.
 The size of the jump rings you use depends on the size of your buttons.
 Attach the jump ring with the button on it to your chain.
 Now repeat lots and lots of times!

To make sure your bracelet is nice and full and evenly buttoned, alternate which sides you put the buttons on as shown below.
 Figure out how long you want the bracelet to be, and once you've put on enough buttons, add a clasp to one end and a final jump ring to the other.
 Now show off your fun dangley bracelet !
I made one for my little sis, and she loved it!
Its such a fun, feminine bracelet, and the best thing is that you can make it to fit your own taste and style. . . big buttons, small buttons, funky shaped buttons, and any color you like!

Thanks for stopping by and letting me share my ideas and creations with you!
I'm grateful for you all!


Wednesday, November 24, 2010

12 Crafts of Christmas - Part 8 - Gift Idea - Flower Pearl Necklace

I think handmade jewelry makes a fab gift!
For a fraction of the cost you can replicate almost any jewelry you see!

I'm gonna show you how to make this necklace!

I've gotten lots of compliments on this necklace and a few requests for a tute so, here it is!

Supplies needed:
Beads - I used pearls in 2 sizes {glass pearls obviously} 
and maybe a few other beads for some variety.
Jump Rings
Eye pins
Thick elastic
Gorilla glue
Flower embellishment
Needle nose pliers (or jewelry pliers)
Wire cutters 

Ok, now lets get started!

Step1 - Put one of the larger pearls on an eye pin
Step 2 - cut the eye pin about 1/2 inch above the bead
Step 3 - bend the eye pin around the tip of the pliers
Step 4 - finish bending until you have a closed loop
Repeat this about 20 times or so.

Step 5 - Attach all the bead/eye pin thingys you just made together with your jump rings

This is what you should have once all your bead are attached.  A cute little chain of beads.

Now lets get working on the flower.
I used a fabric flower that was attached to a bobby pin. . .Perfect!  I only had to tweek it a bit and voila!
If you can find a bobby pin flower, it would be super easy - so look at the dollar store - thats where I got mine.

Step 6 - Remove the bobby pin
Step 7 - Put a jump ring through the hole where the bobby pin used to be
Step 8 - Create a second loop on the eye pin like you did in step 3/4
Step 9 - Put a jump ring on both sides of the eye pin.  
One one side you will attach the beads you strung together and on the other you will tie your elastic (step 11)

Step 10 - String a whole slew of your smaller beads onto your elastic.  Easy.
Step 11 - Now tie the elastic onto the jump rings on both sides. . . add a few knots and a drop of gorilla glue.
{Gorilla glue is my little trick when working with elastic.  One drop is all you need.}
If your bead has a large enough hole you can slip the know into the bead so its not so apparent. 

Once your glue is dry, your necklace is ready to wear!
There are quite a few steps but I think the end result is worth it.

Too much work for you??
Try an easier necklace like this one.

Now go and make some homemade gifts and Happy Christmas Crafting!


Monday, November 8, 2010

12 Crafts of Christmas part 3 - Gift Idea - Wire Beaded Earrings

Do you need a nice, small gift for anyone on your list?  Or maybe you just want to add a little something extra to someones stocking.
Jewelry makes a great gift for just about any woman.
I'll show you how I made this pair of simple, yet classic earrings.
First things first, here is what you are going to need;
shiny wire
earring wires
beads of your choice
needle nose pliers (or jewelry making pliers)
wire cutters

Ok, here we go!
Cut your wire about 5 inches long. (err on the side of too long, you can always cut the wire down.)

About a third of the way from the top, bend the wire at a 90 degree angle.

Hold the wire at the corner you just made with your pliers and wrap the short piece of wire around the tip of your pliers.

Wrap it around as many times as it will go and then make sure the end of the wire is tucked on the inside so the wearer wont get scratched or poked.
Your wire should look like this.

Now put your chosen beads on the wire.

Aren't these wire wrapped beads the best!  I found them at my ever favorite Hobby Lobby.

Next, about a quarter inch from the top of the beads, bend another 90 degree angle
Slip on your earring wire. . .
 then bend down your wire as shown.
 Now, hold your earring right under the the earring wire, and wrap the remaining wire between the top of the beads and the bottom of the pliers
Once again, make sure you tuck in the end.

Now make another one, and you've got a pair of super cute earrings!
 Wouldn't these green ones be cute for Christmas?!
{I totally made a pair for myself!}
But these purple ones are also just as fab!

So, go ahead and give it a try. . . Its a quick craft, with a super result!  And the recipient of these I'm sure will love them!

Happy Christmas Crafting!!

Wednesday, July 28, 2010

Ah, Lovely Necklaces!

My love of necklaces continues!
Why buy them when you can make them so much cheaper!
This one was so simple to make, and it is my new fav!

Here is an Express inspired necklace.
I like this one, I like the way it turned out.
How many necklaces can one girl make before it becomes a problem?!?

Have you made any cute necklaces lately?


Friday, June 25, 2010

Yes. . . Another Necklace!

I know, I know! But yes. . . I have another necklace for you.
But cut me a break, its a really cute necklace!

See?!?!
So totally cute right?!
You'd never know it was made from a button.

Here's how I did it.
I got the button from WalMart.
First I clipped off the back of the button with some wire cutters.
Then I sanded it down more with a metal file.
Next I glued a bail to the back and let it dry for a few hours.
(No one will ever see the back of the necklace, but if you want it to look a little better of if its a little too scratchy against your skin you could always glue a little circle of felt or black fabric to the back.)

Then you have a cute new necklace pendant!
Just put it on a chain and you're done!
I ♥ it! Its my new favorite necklace!


Thursday, June 10, 2010

Pendant Necklace!

Anyone who is a frequent visitor of this here blog, may have noticed that
I ♥ jewelry!
I've been making a lot of my own jewelry lately.
Its awesome cuz now I have so many pieces to choose from and I haven't broken the bank.

Let me show you how I made this fab necklace pendant.
This is the same type of necklace that I gave away on my 100 follower post.

Here is what you'll need:
Wooden squares
Scrapbook paper
Mod Podge
Hardening epoxy glaze
Bail
Glue (super or gorilla)

I started with some wooden squares. (Any shape wooden piece would work for this.)
I made a little template to help me choose just the right paper.
Next I cut out my square of paper and mod podged them to the squares.
Give them a couple coats and let it dry completely.
Next put on a thin coat of whatever glaze you're gonna use.
Make sure you cover the whole thing.
To get rid of the tiny bubbles I used a lighter and held the flame a few inches above it. It pops them like a charm. Then I covered them with a box to keep the dust off, and let them dry and harden for 48 hours.
Once its dry, glue a bail to the back.
Look how cute they are!
I've made a bunch. . . one for every outfit! *Ü*

Monday, May 3, 2010

Cute Button Rings!

I'm totally into making my own jewelry right now. I love to wear something new that I've made! Most recently I made the cutest and easiest button rings.

If you're looking for a quick, easy project with fab results, this is it!
Three steps and your done.

The supply list is also totally short. . .
A tiny bit of fabric
Button Making kit
Mod Podge
Metal Adjustable Ring Base
Glue Gun

1. Make yourself a couple fabric covered buttons (the same ones I used here.) Button making kit can be found at Hobby Lobby or probably any craft store.


2. Put a couple of coats of Mod Podge on your button (this step could be skipped but the Mod Podge will make it shiny as well as keep it nice and clean.)

3. Once the Mod Podge is dry, Hot glue your button to your ring base.
And there you have it! Cute!


Related Posts with Thumbnails